
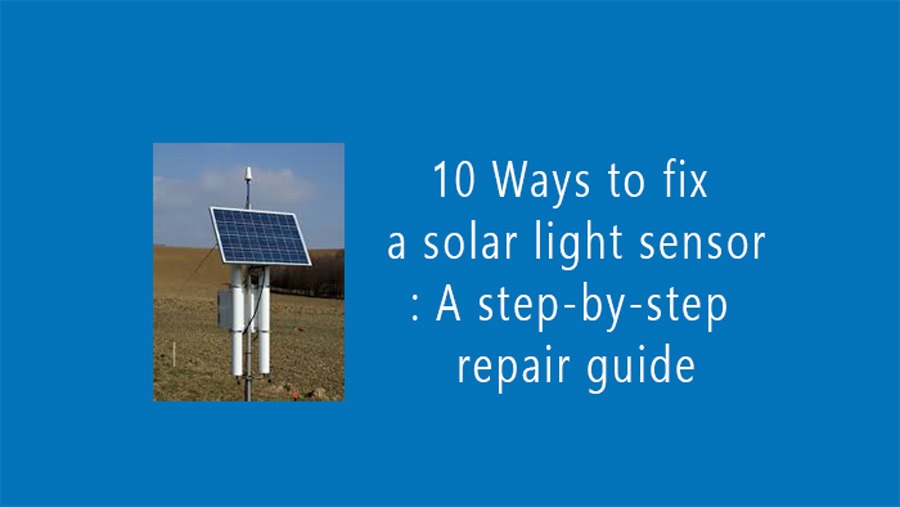
How to Fix a Solar Light Sensor
Solar lights are an environmentally friendly essential. It is used in many homes. Its benefits are realized when there is no electricity. Solar light is mainly used with the help of sunlight. But many times, various errors are seen in it. One of the defects is that its sensor does not work properly. There is no reason to worry. With a proper guide, you can fix your solar light sensor. Let’s know the instructions step by step.
Step 1: Identify the problem
Before you can solve anything, you need to find the problem first. Check carefully if the reason for the light not coming on is actually a sensor issue or not. Sometimes there may be a problem with the light, or it may be due to the battery. Check for this problem properly.
Step 2: Clean the solar sensor
Since the solar panel is outside for a long time, a lot of dust accumulates. For which the sensor fails to work properly. Take a thin cloth and a brush to clean the sensor. Wipe well with a cloth, and gently brush with a little soapy water.
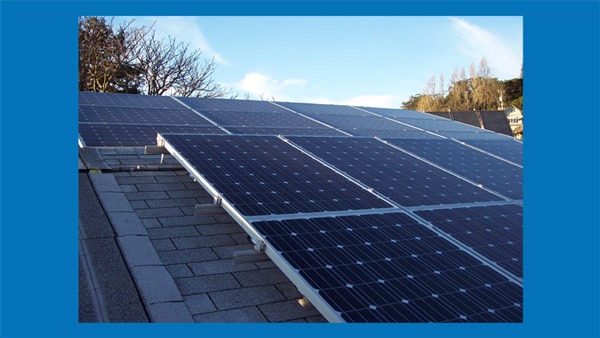
Step 3: Inspect the solar panel
We know that solar panels are heated by sunlight. Sometimes the sun doesn’t shine properly on it. It is caused by big trees, tall buildings, etc. For how many times does the solar sensor not work? If so, change the position of the solar panel. After a thorough inspection, wipe the panel thoroughly with a damp cloth.
Step 4: Check the solar battery
A normal problem is the solar panel battery going down. Check the battery thoroughly. Replace it with a new battery when it is old. and check the sensor.
Step 5: Reset the solar light
The next step to fixing a solar light sensor is to reset it. Turn off your solar panel and fully charge it before turning it on.
Step 6: Check the sensor angle

Make sure the sensor is pointed in the right direction to detect changes in motion or light. The sensor should face the area you want to monitor. Sometimes, a slight adjustment can significantly improve sensor performance.
Step 7: Inspect the wiring
This is the critical step in fixing a solar sensor light. Check the entire solar panel thoroughly. If any frame or any wire connection is loose, tighten it if it is loose.
Step 8: Replace the sensor
If all else fails, a new sensor may need to be replaced. Most solar light sensors can be purchased online or at hardware stores. Follow the manufacturer’s instructions to replace the old sensor with a new one. Do it carefully, and try to convey the idea in a brief yet thorough manner. Gently detach the old sensor by applying a hot gun , solder iron, and tape the new solar sensor with a good view of the negative and positive.
Step 9: Test the solar light
After completing the above steps to fix the solar light sensor, test the solar light to make sure the sensor is working properly. Monitor the light for the next few days to make sure the problem is completely resolved.
Step 10: Professional help
After you’ve followed all the steps to fix a solar panel sensor light, if you’re bored, you can have a professional inspect it or discuss it. They can solve your problem very quickly.
Conclusion
I hope you will benefit from this post and be successful. You already know how to fix the solar light sensor. But you have to complete the tasks with patience. And take these steps carefully. Contact a professional if you do not understand the process or recognize signs of damage. thank you
READ MORE: 9 ways to repair a led bulb: A step-by-step guide
READ MORE : 8 Easy ways to fix garage door cable
READ MORE : 9 Easy ways to fix a stripped anchor hole with gorilla glue