
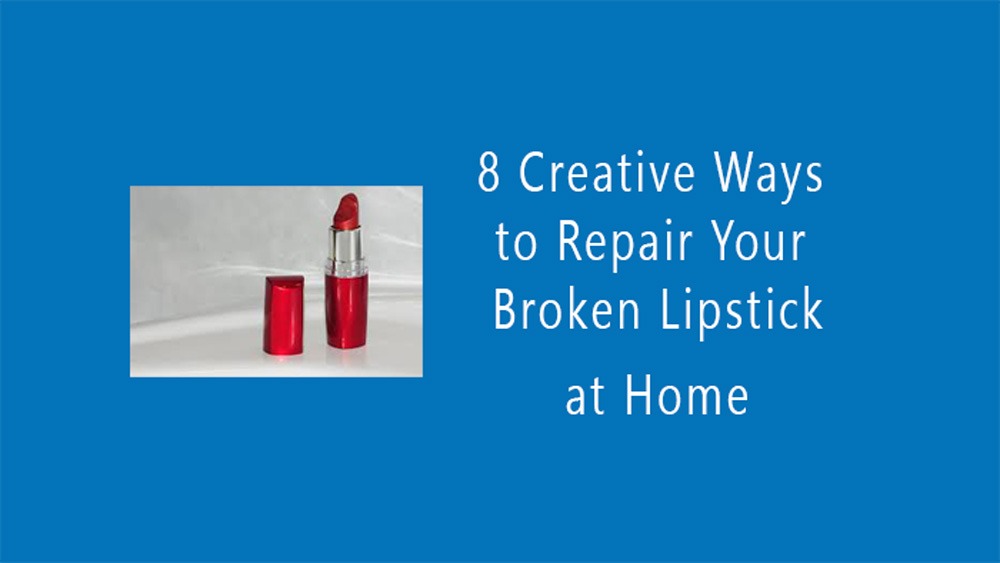
How to fix a broken lipstick
Lipstick is an essential part of a girl’s outfit. An inseparable part of makeup is grooming. Lipstick is usually soft. A little pressure can break it. Then we get upset. But don’t worry; you can fix your broken lipstick by following some simple methods. Which will also save you money. Let’s have a proper step-by-step guide
Step 1: Gather the required ingredients
To repair the lipstick, you need to collect some ingredients. Which will make your work easier. The ingredients are a hair dryer or lighter, a small spatula or knife, a tissue or paper towel, and a refrigerator. These ingredients are usually in our house.
Step 2: Clean the broken pieces
Carefully remove the broken part from the lipstick tube. Use a tissue for this. Gently hold the broken part in a tissue and keep it aside. Clean the excess color from the lipstick tube with another tissue.
Step 3: Soften the base of the lipstick
You can use a lighter or hair dryer to soften the base. Your main goal is to lightly soften the base. You have to do this process very carefully. Getting it wrong can ruin your hobby. Apply gentle heat from a distance with a hair dryer or lighter. Watch it soften slightly. You can also use a candle to do this.
Step 4: Reattach the broken part
The next step in fixing the lipstick is to cover the broken part. You note whether the broken part is smooth or not. If it is not smooth, level it using a spatula. Then place the broken part of the lipstick on the plastic base with a tissue and press gently. That will ensure that it comes across firmly.
Step 5: Melt the joint
To further secure the bond between the broken piece and the base, use your hair dryer or lighter to gently melt the joint where the two pieces meet. This helps them fuse together, creating a strong hold.
Step 6: Shape and smooth
While the lipstick is still soft, use your spatula or knife to shape and smooth the surface. If there are any lumps or bumps, smooth them out so that the lipstick looks as good as new.
Step 7: Keep the lipstick in the fridge
This is an essential step after repairing broken lipstick. Refrigerate your lipstick for 30 minutes to make it firmer and stronger. This will make it less likely to break again later.
Step 8: Test the lipstick
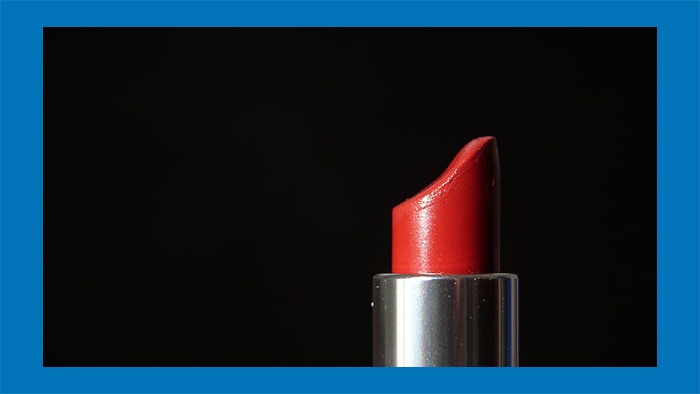
Your lipstick is fixed; now check if it works properly. If it works properly, then you are successful. Try it to test the lipstick. But don’t force it; use it gently. I hope your lipstick is doing well.
Conclusion
Here’s a proper guide on how to fix a broken lipstick. Start these tasks with patience. Then your success will be fast. And carefully, you apply the heat so that the lipstick doesn’t melt or get the heat on your hands. I hope you got rid of the frustration of fixing your broken lipstick. thank you
READ MORE : 9 Easy ways to fix a broken glass frame
READ MORE : 6 Easy methods to check your ring size at home