
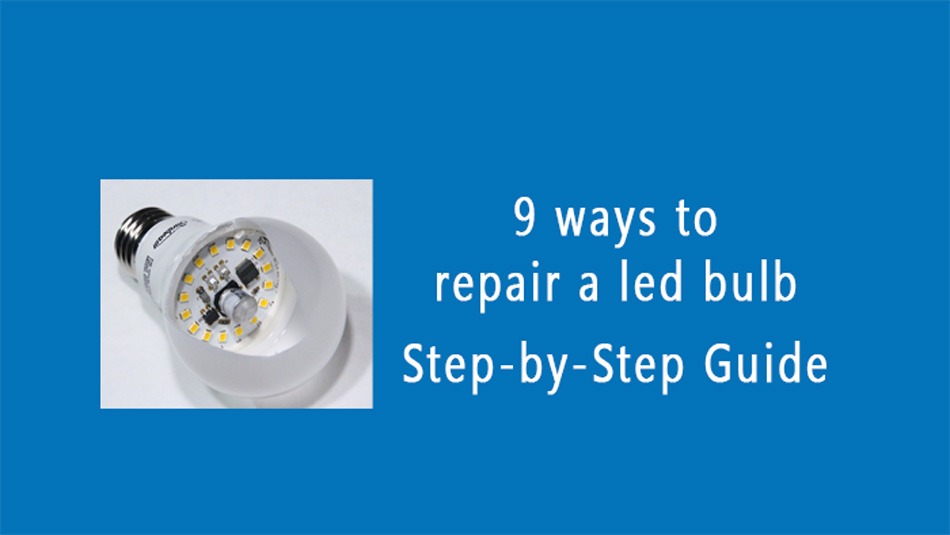
How to Repair a LED Bulb
Light is one thing we need. Without light, we cannot move. We all have lights in our homes. But sometimes there is a defect in the LED bulb in our house. But there is no need to despair; if the home bulb is broken, you can try to fix it once instead of throwing it away or changing it. It will save you money. With a proper guide, you can repair a LED bulb. Let us know the process step by step.
Step 1: Ensure your security
This is your first step before starting any electrical work. If you don’t do these things carefully, it can be dangerous for your life. So be careful before you repair the bulb. Do what you can for that. Wear a pair of hand gloves as well as transparent goggles. Power off the lamp. Allow it to cool for 5 minutes. Then remove it from the holder.
Step 2: Identify the problem with the LED Bulb
The problem identification process is critical. Because if you don’t understand it, you won’t know where to start fixing it. The most common problems with LED bulbs are:
Flickering lights: This can be caused by a loose connection or a faulty driver.
Completely dead bulb: This can be caused by a blown internal fuse or a damaged LED chip.
Or many small LED lights are used inside the bulbs, and they are fused. But in this case, the light from the bulb decreases.
Step 3: Detach the top of the bulb
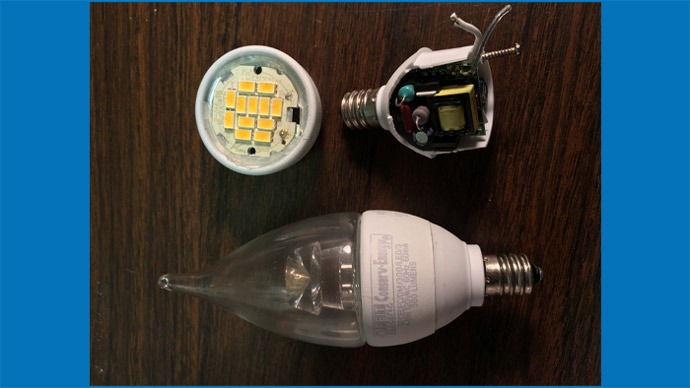
LED lights are usually divided into joints. As it has a cover over it. It can be opened in two ways, as some covers have a screw system. Some LED bulbs use screws. If there is a screw, open it with a small screwdriver. But handle this process with patience so that no damage is done inside.
Step 4: Do internal testing
Test the LED bulb in well-lit daylight or using a table lamp. See if you notice any burnt spots or broken anything.
Step 5: Test the LED chip
Use a multimeter to test the LED chips.
Set the multimeter: Turn the multimeter to diode testing mode.
Test each LED: Place the multimeter probes on the LED chips. A functional LED will light up slightly during testing. Replace any chips that don’t light up. You need a hot gun to replace a new chip light. You can use a soldering iron for this. Gently remove the old chip by applying light heat with a heat tool. Connect the new LED bulb chip with the help of a soldering iron with the negative and positive ends.
Step 6: Check the LED Bulb driver circuit
This is essential for repairing LED bulbs. This will allow you to verify the problem. The driver circuit controls the power of the LED chips. An error might say the problem is due to a full driver. You can also use a multimeter to check this. Check their input and output voltages. Replace a new driver if the driver is causing the problem. Replace the new driver circuit with the same process: a hot gun tool and a soldering iron.
Step 7: Repair the damaged components
To repair the LED bulb, you need to check it before you know it well. Solder any loose wire joints inside the bulb. Repair any bulb damage by soldering.
Step 8: Check the bulb
After taking all the above steps carefully, you insert the bulb into the holder and check by turning on the power. I hope you succeed.
Step 9: Professional help
If you can’t fix a LED bulb with these steps, take it to a professional. They will fix your LED bulb quickly.
Conclusion
By following the above steps well, you can fix your lady bulb. But you must be careful and complete the work with patience. Which will help you save money. But I suggest you take the bulb to a professional if you have a baby. thank you
READ MORE : 8 Easy ways to fix garage door cable
READ MORE : 9 Easy ways to fix a stripped anchor hole with gorilla glue
READ MORE : 8 Easy ways to fix a leaky pipe
READMORE : 7 ways to fix a doorbell
1 thought on “9 ways to repair a led bulb: A step-by-step guide”